Introduction
The main cause of back pain is the spine. Lack of flexibility and pain in the spine are bothering the person, making it difficult to sit and work in the office. So if women are facing difficulty in household work due to spine related problems then of course you can use medicines for these problems.
But through yoga you can also get relief from this problem. Yoga helps improve your mental and physical health. Yoga helps in reducing obesity and back pain and improves flexibility. Nowadays it is very difficult to make time for yourself. But if you give yourself just thirty minutes in the morning, you can get rid of many problems.
In the following session we will tell you some yoga poses to improve spine flexibility and reduce pain. You can reduce all kinds of back problems by practicing yoga asanas regularly.
Yoga for the spine
1 Bhujangasana
How to do
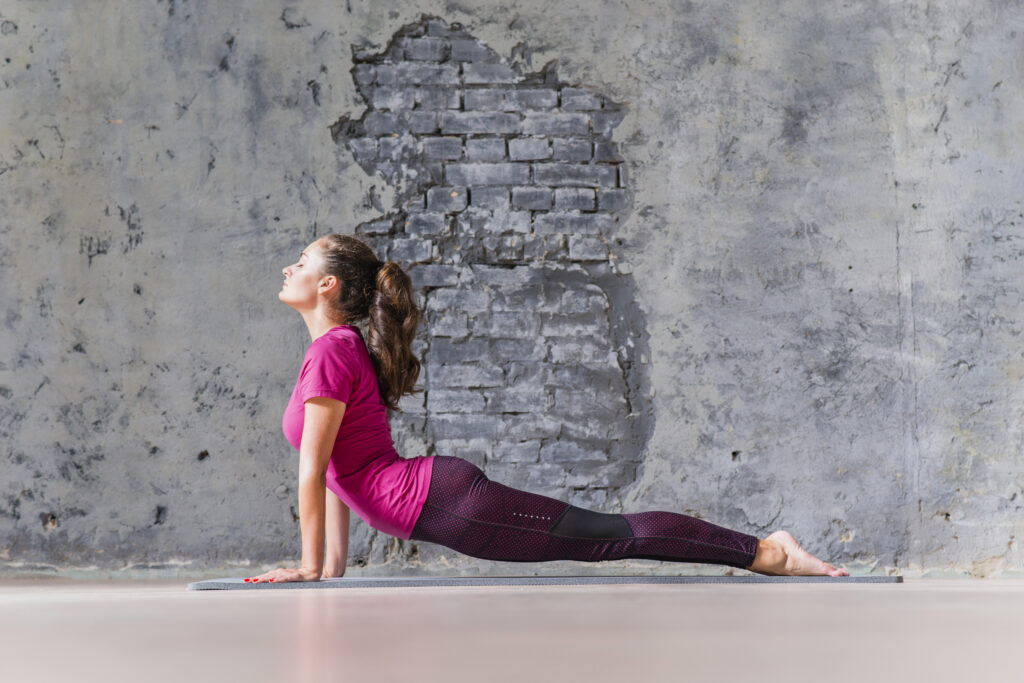
1.Keep your toes and head straight on the floor and lie on your stomach.
2. Keep the legs straight and bring the feet and heels together.
3. Keep both hands below shoulder level and both elbows parallel to body.
4. While inhaling gently lift the head, chest and then abdomen. The navel should be kept just above the ground.
5. Now pull the back of the waist with the support of both hands while lifting the body up.
6. Focus on having equal weight on both hands.
7. While breathing consciously, both arms should be straightened and slowly i.e. bend the joints further and look up.
8. Make sure your hands are away from your ears. You can also bend your elbows if needed while keeping your shoulders relaxed. As you continue to practice, you will begin to arch your back more, keeping your elbows straight.
9.Take a deep breath with a smile on your face, concentrating on your legs still being straight.
10 Stress according to your physical ability, too much bending and too much straining can be harmful.
11. While exhaling gently lower the belly first then the chest and then the head.
Read More 7 Simple Yoga Asanas for Neck Pain Relief
2. Shalabhasana
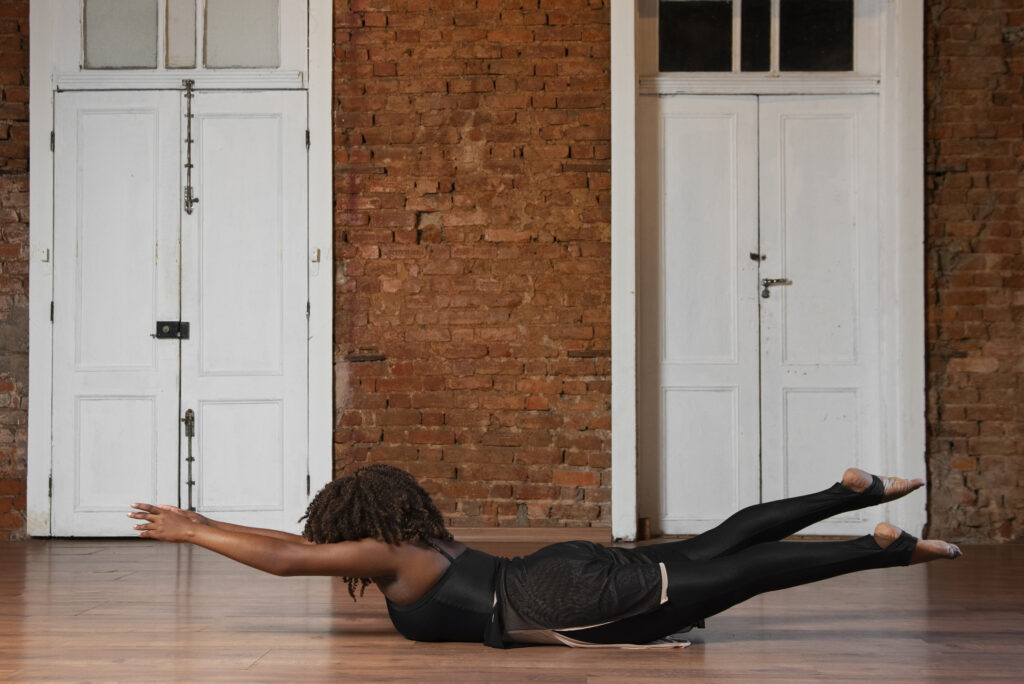
How to do
1. Lie on your stomach on the floor or do it on a yoga mat with your hands under the pan.
2. Raise your upper torso and legs while inhaling.
3. As you lift your legs, you raise your arms by your sides, making sure your knees are straight.
4. You should make sure that your body weight is above your lower ribs and abdomen.
5. Now some government should maintain this position.
6. Gently lower your legs and head to the floor and come back to the starting position.
7. This should be repeated two to three times.
How to do 10 Yoga Poses To Get Relief From Wrist Pain
3 Balasana
How to do
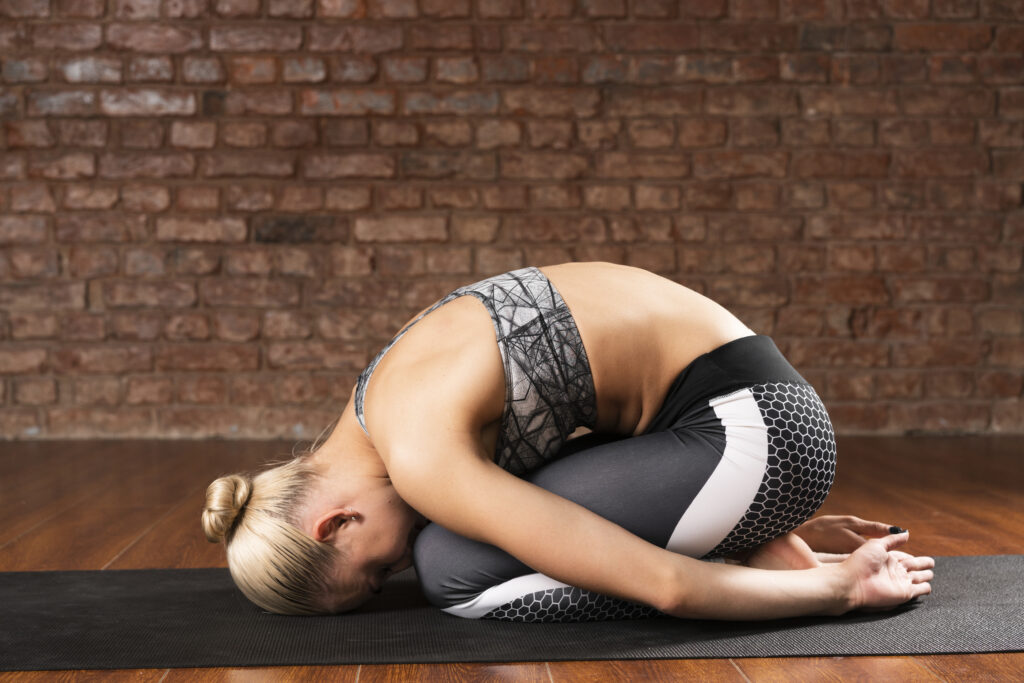
1. Get down on the mat with hands and knees.
2. Spread your knees as wide as your mat and touch your big toes and place the tops of your feet on the floor.
3. Keep your stomach between your thighs and press your forehead to the floor. Shoulders jaw and eyes should all be relaxed.
4. You can extend your arms once in front of you all facing the floor or pull them back along with the thighs.
5. Arms should be extended forward with palms up, or used at angles so that palms touch and thumbs rest on the back of the neck. Bend forward with elbows in this position.
6. Hold this position for 30 seconds. Finally reconnect with the continuous breath of your breath.
Read More 3 Effective Breathing Exercises To Reduce Stress And Anxiety
4 Setu bandhasana
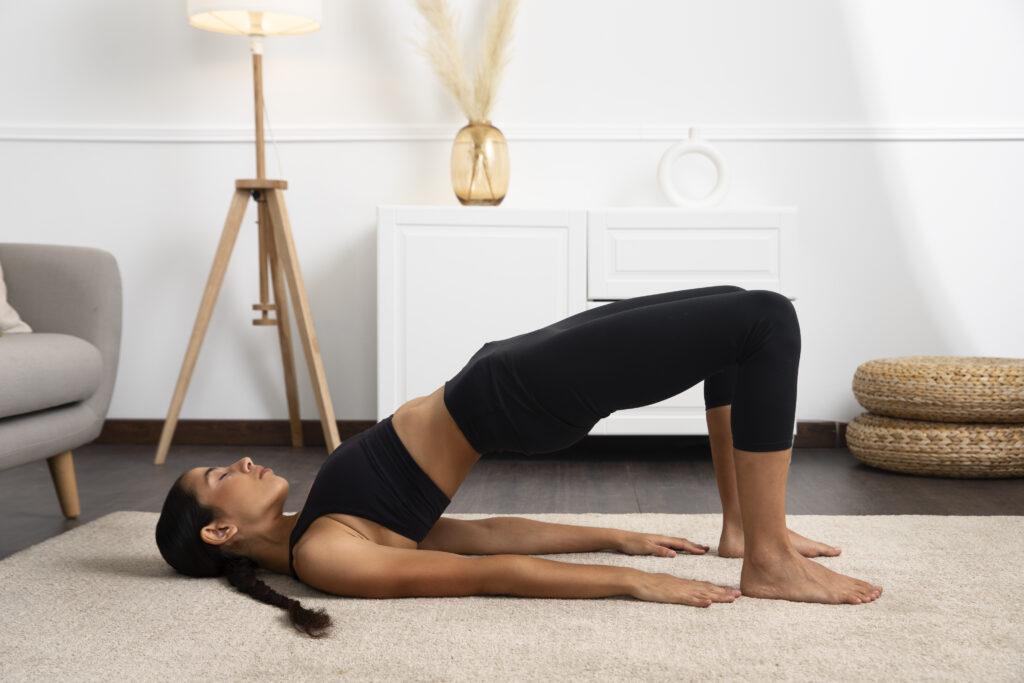
How to do
1. Start this yogasana by lying on your back.
2. Bend your knees and keep your knees and feet in a straight line with both feet 12 inches apart.
3. Place your hands by your sides with your palms flat on the floor.
4. Gently lift your lower and middle and then upper body off the floor while inhaling. 5. Gently roll your shoulders inward without moving your chin, keep your chest in line with your chin and support your weight with your shoulders, arms and legs. . Keeping your lower body still, keep both thighs together during this time.
6. Lift the upper part of the body by pressing the hands on the ground. You can support your waist with your hand.
7. Hold the asana for one to two minutes and return to the starting position while exhaling.
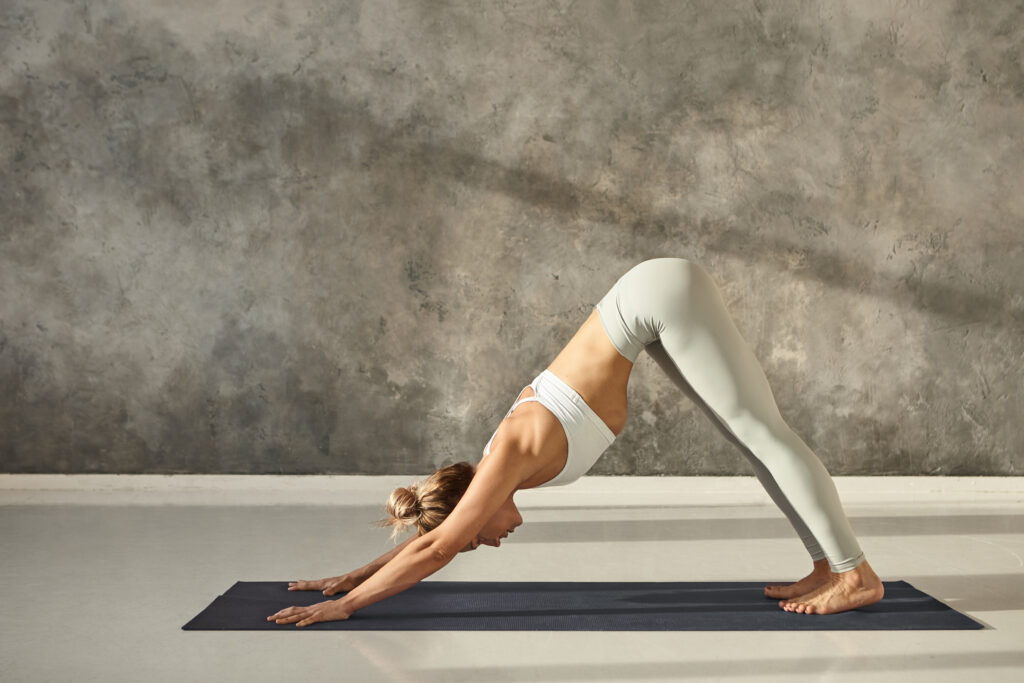
5. Adho Mukha Svanasana
How to do
1. Keep your mind below your shoulders and your knees below your navel and come to your hands and knees.
2. Push back through your hands to straighten your legs by turning your toes downwards and lifting your hips.
3. Spread your fingers and come down from the front hand to the fingertips.
4. Turn your top inside out to widen the collar bonus.
5. Hang your head and bring your shoulder blades away from your ears toward your hips.
6. Engage your quadriceps to shift your body weight off your arms. Move forward to make this whole movement a resting pose.
7. Rotate your thighs inwards to keep your tailbone high and bring your heels down towards the floor.
8. While advancing into the Holi position, check whether the distance between your hands and feet is correct. The distance between arms and legs should be equal in these two asanas. Do not turn the feet towards the hands in down dog to bring them from the same ground.
9. Exhale by bending your knees down and bringing your hands and knees back.
Conclusion
In the above session we have told you 5 yoga poses by practicing them regularly you can get rid of your back pain and also the pain in the spine and also the lack of flexibility. Also, the problems faced by those who work sitting in the office can also be solved by doing these 5 yogas regularly.
