Introduction
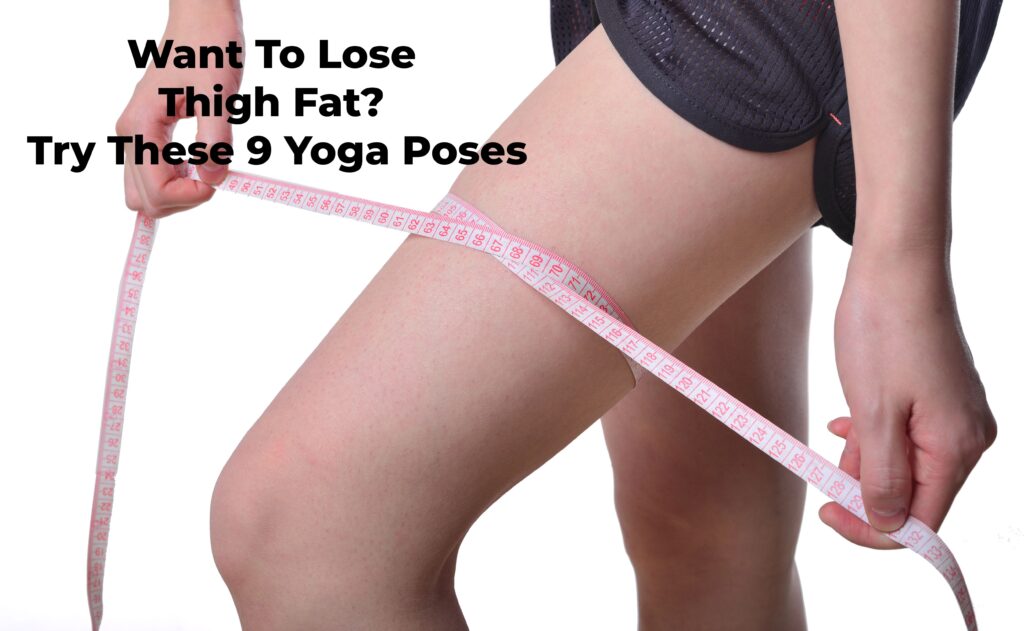
Are you tired of trying new things to get rid of all the thigh pain? Here are some yoga poses to try to lose thigh fat and tone your muscles. Want to lose weight and lose thigh fat in women’s health fitness? Try these 9 yoga poses to lose weight.
Want to lose thigh fat? So try these 9 Yogasanas.
If you are tired of doing new things to get rid of thigh fat then try yoga here are nine yoga poses to tone your muscles to reduce thigh fat.
A little thigh fat won’t do you any harm, but there’s nothing wrong with it if you want to lose the extra weight on your thighs. However, spot reduction is a myth and you need to incorporate a new exercise regime that will work your entire body,
if you are looking to lose thigh fat, be patient and don’t look for quick results. Exercise and a healthy diet are always important. In fact, you can even add some yoga poses to your daily exercise routine to lose thigh fat. Yoga strengthens muscles and burns calories, which helps in overall fat loss.
Regular practice of yoga poses helps in toning the muscles and reducing thigh fat. It is a very slow process and combining exercise, balanced diet and yoga gives effective and lasting results.
Read More 7 Simple And Effective Yoga Asanas To Reduce Extra Body Fat
9 Yoga Poses to Reduce Thigh Fat
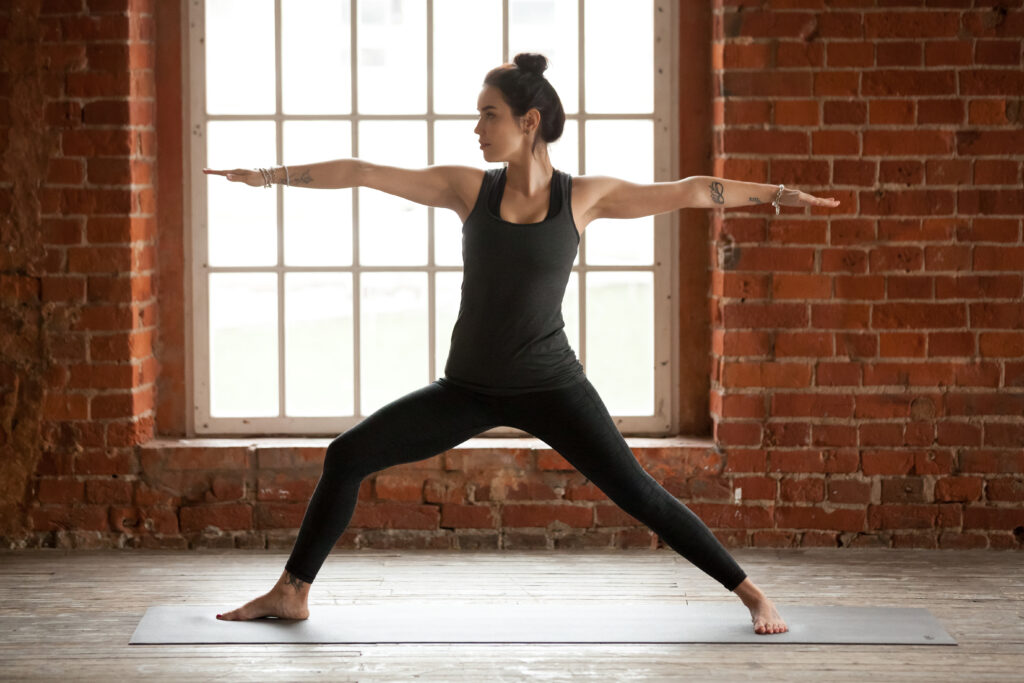
1. Warrior Pose (Virabhadrasana II)
Follow the steps below to get maximum benefits of this Yogasana.
How to do
1. Start by standing in Tadasana position.
2. As you raise your arms, keep your shoulders down and your neck long so that they are parallel to the floor.
3. Exhale and bend your right knee, placing it on top of your ankle and moving your feet slightly if necessary to achieve stability in the same.
4. The right floor should be your focus when lowering your thighs. To balance that movement, lower yourself on your big toe.
5. Hold this position for five breaths. Press into your legs as you inhale to get out of this position, straighten your legs and change the direction of your legs and repeat.
Read More Top 7 Yoga Poses To Add To Your Daily Routine For Fitness
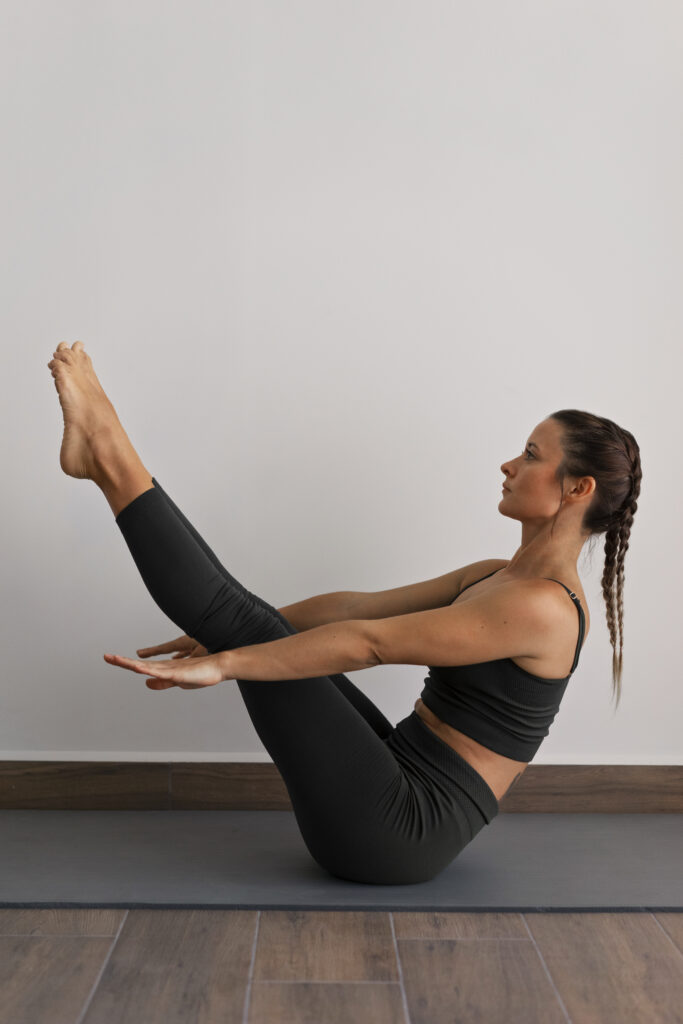
2. Boat Pose (Naukasana)
Follow the steps below to get maximum benefits of this Yogasana.
How to do
1.Lie on your back and take a deep breath.
2. Extend your arms forward with toes pointing as you lift both your chest and legs off the floor.
3. Your body looks like the shape of a boat if you just sit.
4. Do not hold your breath while in the pose. Breathe normally while in Naukasana asana.
5. Return to normal.
Read More 10 Common Yoga Mistakes Everyone Should Avoid
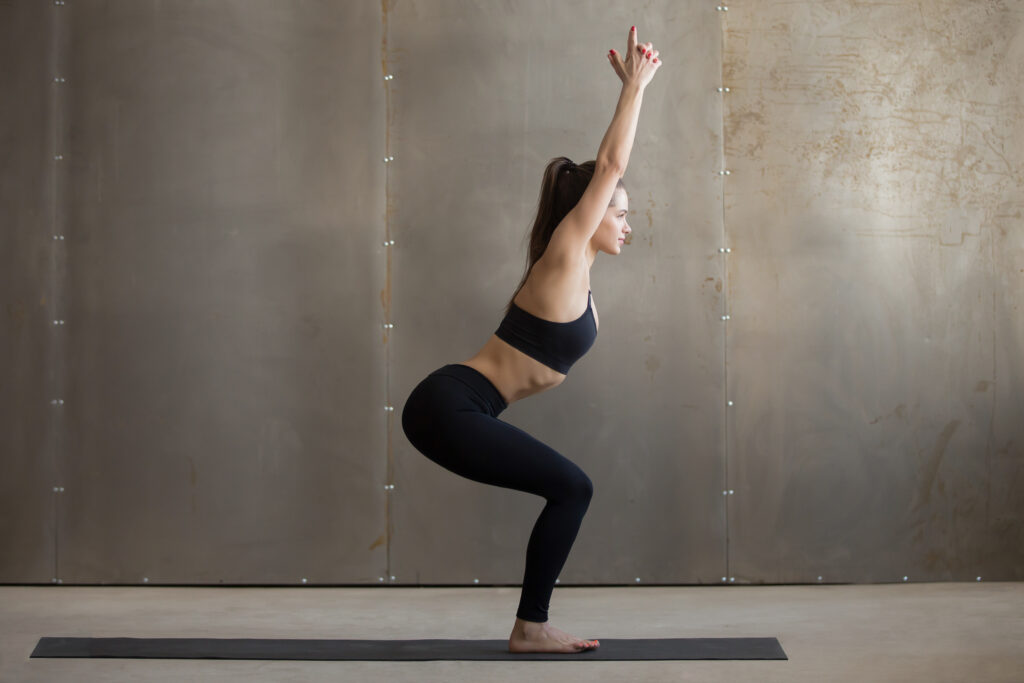
3. Chair Pose (Utkatasana)
Follow the steps below to get maximum benefits of this Yogasana.
How to do
1.But one should start this asana daily and in Tadasana.
2. Exhale by bending your knees and rocking your hips back as if you were sitting in a chair. Draw your lower abdomen in and up to support your lower back.
3. Drive your hips back rather than your knees forward so that your toes are still visible as you lift your hands up around your ears and soften your shoulders.
4. Exhale to return to Tadasana as you press your legs down to straighten your legs and then lower your arms to your sides.
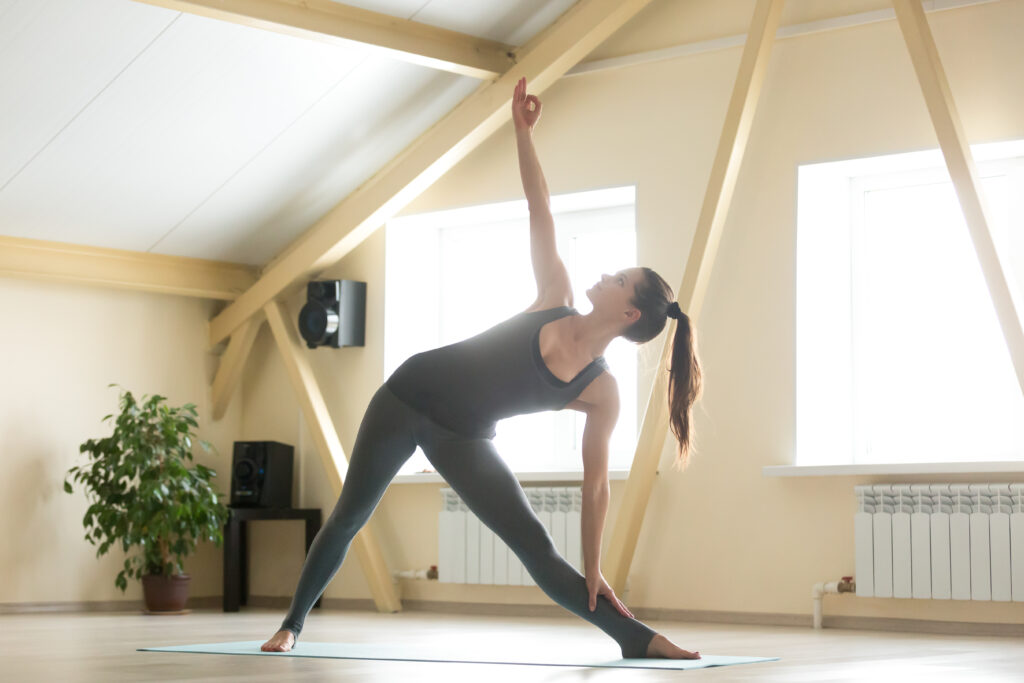
4. Triangle Pose (Trikonasana)
Follow the steps below to get maximum benefits of this Yogasana.
How to do
1. Stand straight with your legs apart. Keep the distance between your feet slightly more than the distance between your shoulders.
2. Inhale and extend your right arm straight above your head and the right arm should be parallel to the right ear.
3. Exhale and point your torso to the waist and to your left side.
4. At the same time bring your left arm down by your side until it touches your toes and ankles.
5. At this point tilt your head to the left keeping your right arm horizontal.
6. Hold the pose with your knees and elbows straight. Hold this position for thirty seconds.
7. Inhale, straighten yourself up and start the asana again from the other side.
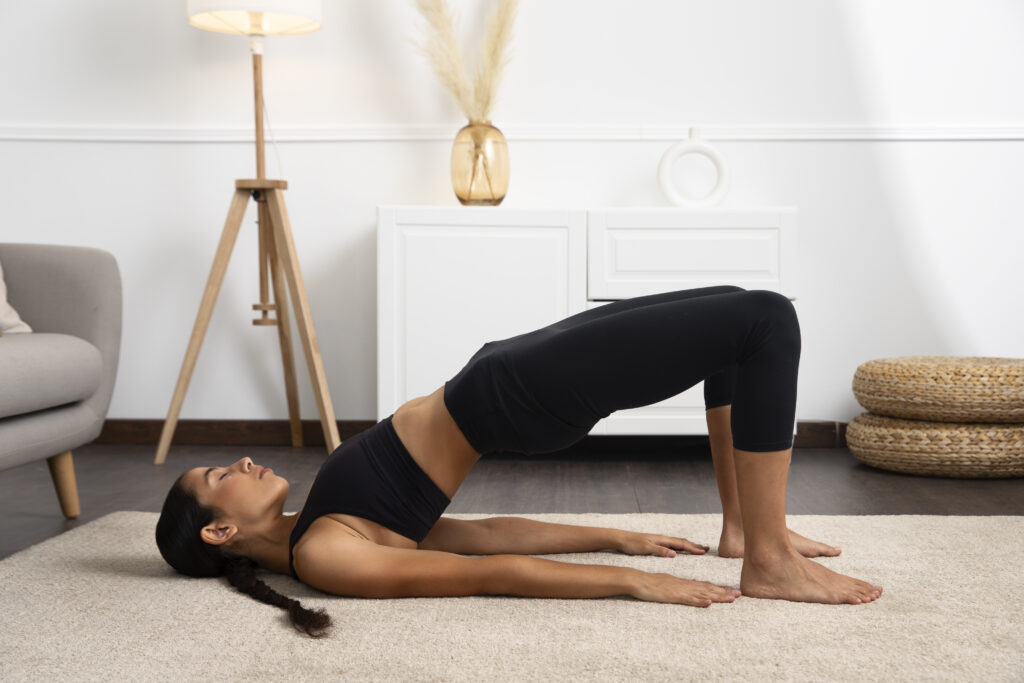
5. Bridge Pose (Setu Bandhanasana)
Follow the steps below to get maximum benefits of this Yogasana.
How to do
1. Keep bent knees and feet parallel to the hip. Lie on your back on the edge of a standard yoga mat.
2. Press your feet into the mat and lift your body to form a straight line or inverted “V” shape between your head and feet.
3. Place your hands together under your body.
4. Open the front of your chest by drawing your shoulder blades under your back and away from your ears.
5. Relax your shoulders and neck by pressing with your feet.
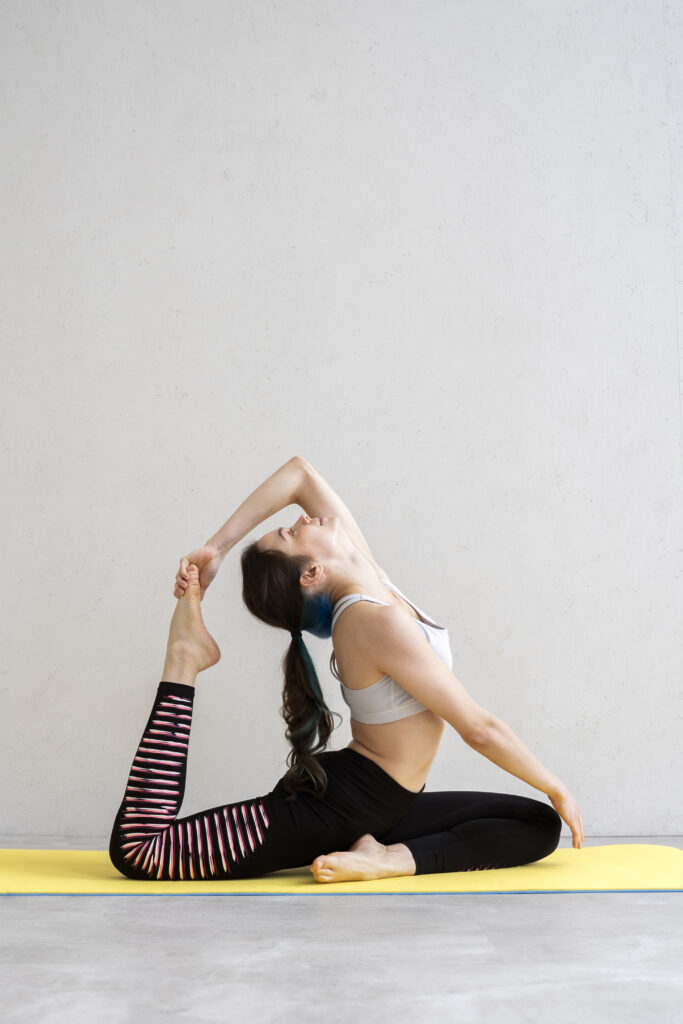
6. Pigeon pose (Eka pada rajakapotasana)
Follow the steps below to get maximum benefits of this Yogasana.
How to do
1. Begin in downward dog pose. Set your knees forward and your hips down so you’re in a half split. Show your front knee.
2. If your left hip is lifting off the floor, you should work on opening your hips before you move forward.
3. Exhale and move the ribs away from the hips coming into the back bend.
4. Raise your hands above your head.
5. Bending your knees, raise your legs.
6. If you have the flexibility to grasp your ankle by holding your right foot between your hands while holding the top of your foot, grab your ankle.
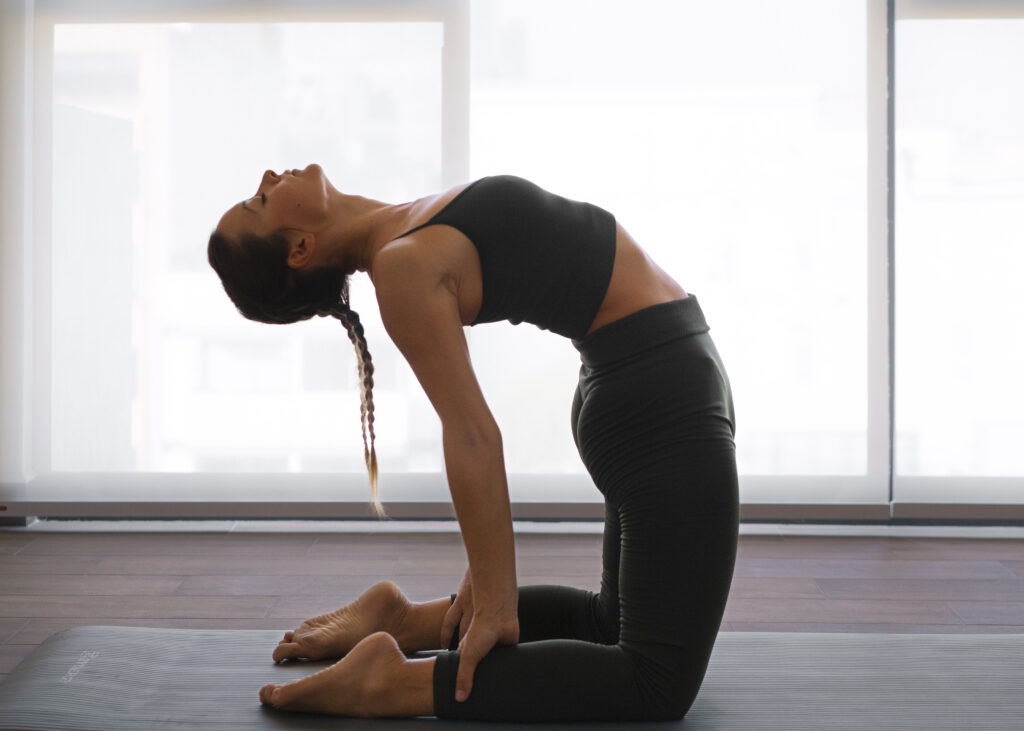
7. Camel Pose (Ustrasana)
Follow the steps below to get maximum benefits of this Yogasana.
How to do
1. Begin this asana in Vajrasana.
2.Stand on the knees and keep the thighs completely straight and keep the knees and feet together.
3. Lean backwards and move slowly backwards. Reach the right heel with the right hand and reach the left heel with the left hand. Avoid stressing the body.
4. Push the hips towards the front and keep the thighs upright.
5. Bend the head and back of the spine backwards and preferably without straining.
6. Body weight should be equally supported on legs and arms by relaxing body and back muscles.
7. To maintain a back arch, place the hands in such a way that they anchor the shoulders. Stay in that position as long as you feel comfortable.
8. Then release the hands one by one from the heels and come to the starting position.
8. Mala Pose (Malasana)
Follow the steps below to get maximum benefits of this Yogasana.
How to do
1. Begin this asana standing in front of your mat with your feet hip-distance apart.
2. Come into a squat position by bending your knees and lowering your hips toward the floor.
3. Bring your palms together in the center of your heart and slowly bend your knees to the sides using your elbows.
4. Place your heels on the floor and take a deep breath. Furthermore, connect with your center muscles and stretch your spine.
5. Hold this pose for several breaths.
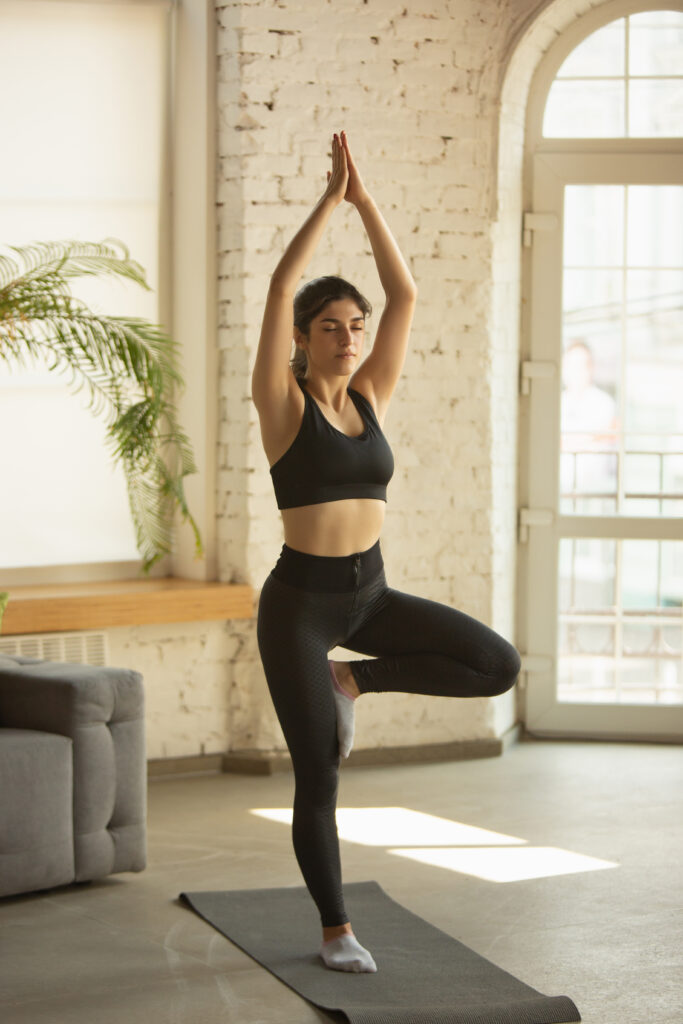
9. Tree Pose (Vrikshasana)
Follow the steps below to get maximum benefits of this Yogasana.
How to do
1. Stand up straight and lift your right leg, balancing firmly on your left leg.
2. Bend your right leg at the knee and place your right foot on the inside of your left thigh.
3. Make sure that the toes of your right foot are pointing down.
4. Now raise your hands upwards above your head by joining your palms in prayer at the level of your chest.
5. Hold this position while taking deep breaths.
6. Bring down your arms to chest level and afterward separate your palms.
7. Straighten your right leg and stand straight again.
8. Repeat this asana with the right leg.
Conclusion
In the above session we have told you about 9 Yogasanas. By practicing it regularly you can reduce your thigh fat. And can also tone your muscles. But it is a very saintly process and combining exercise with balanced diet and yoga gives effective results.
